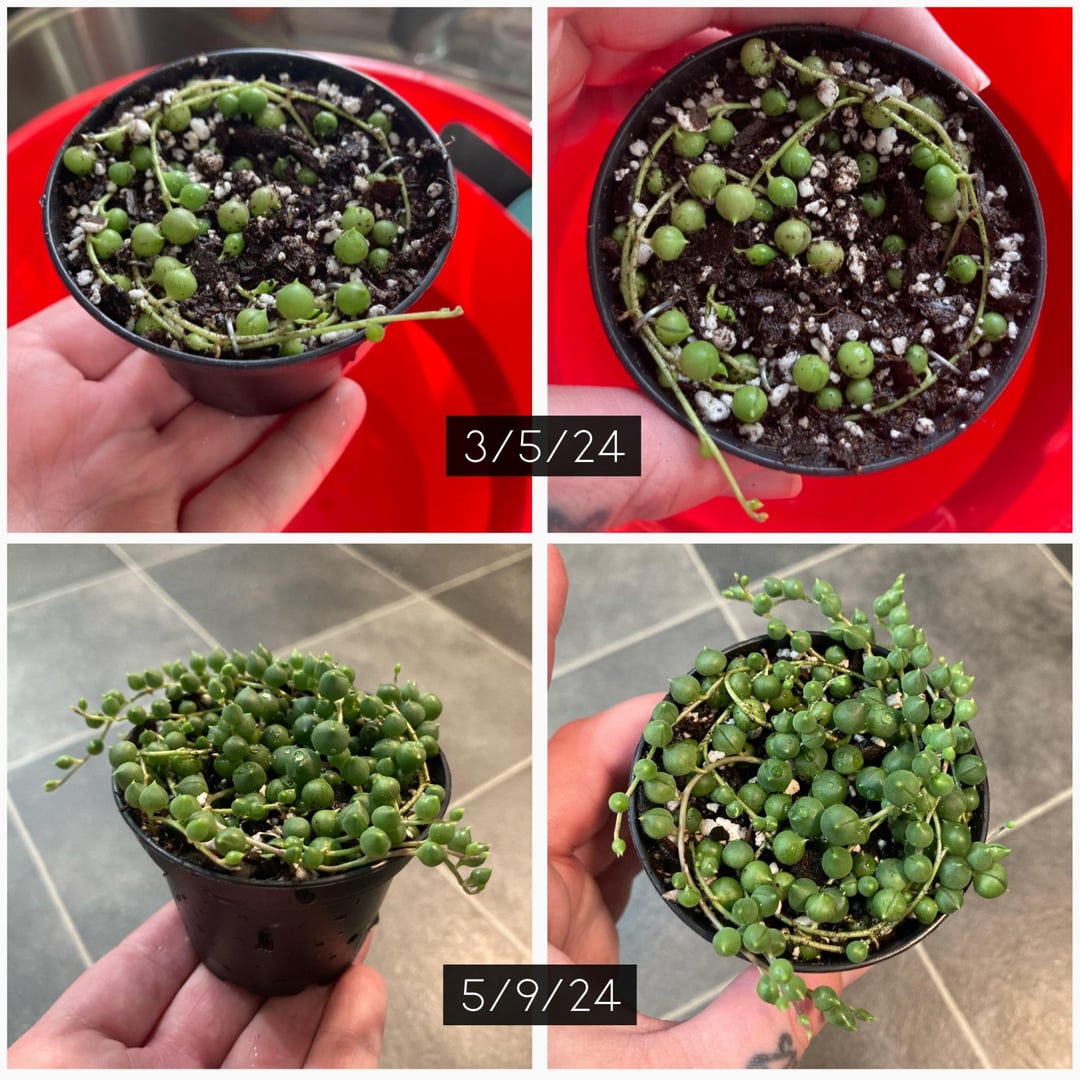
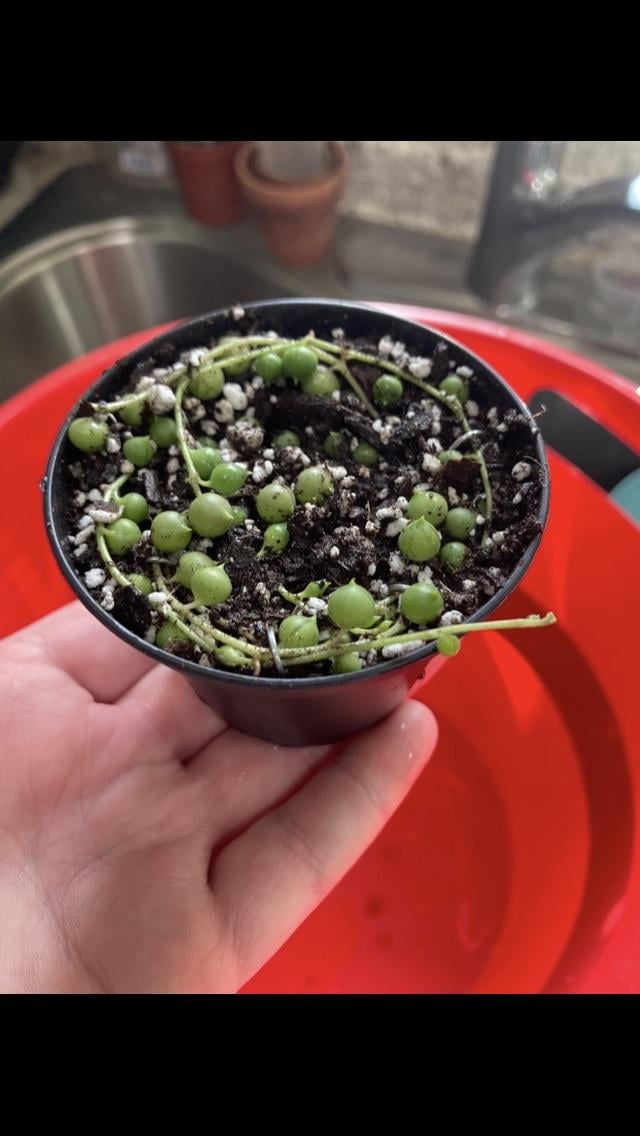
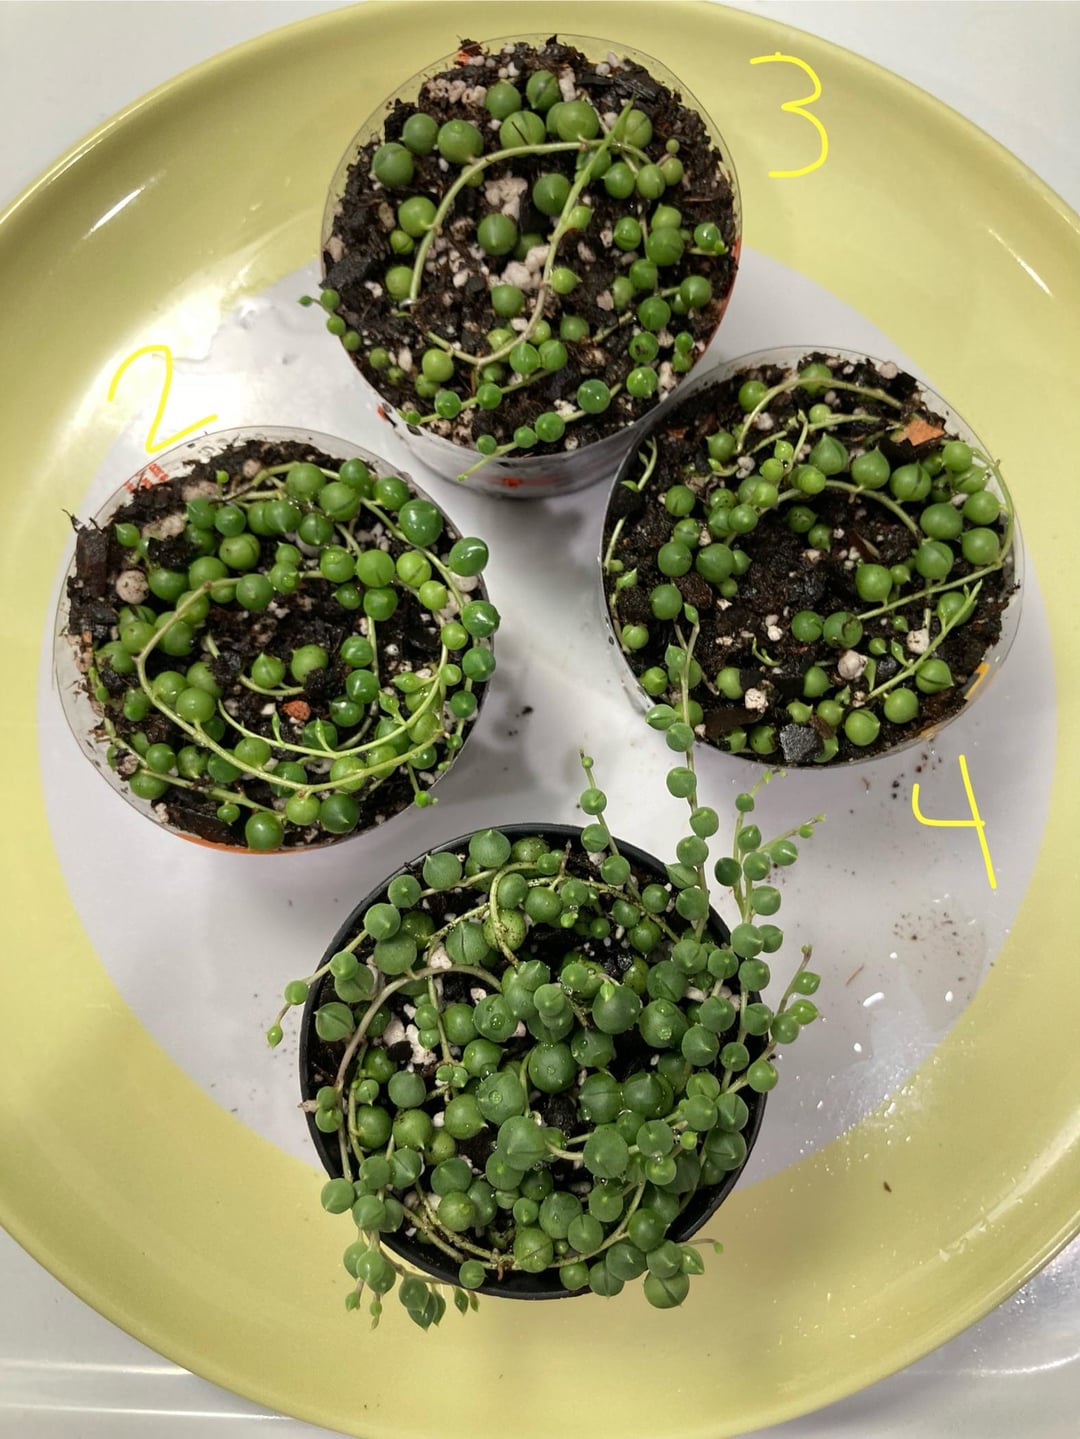
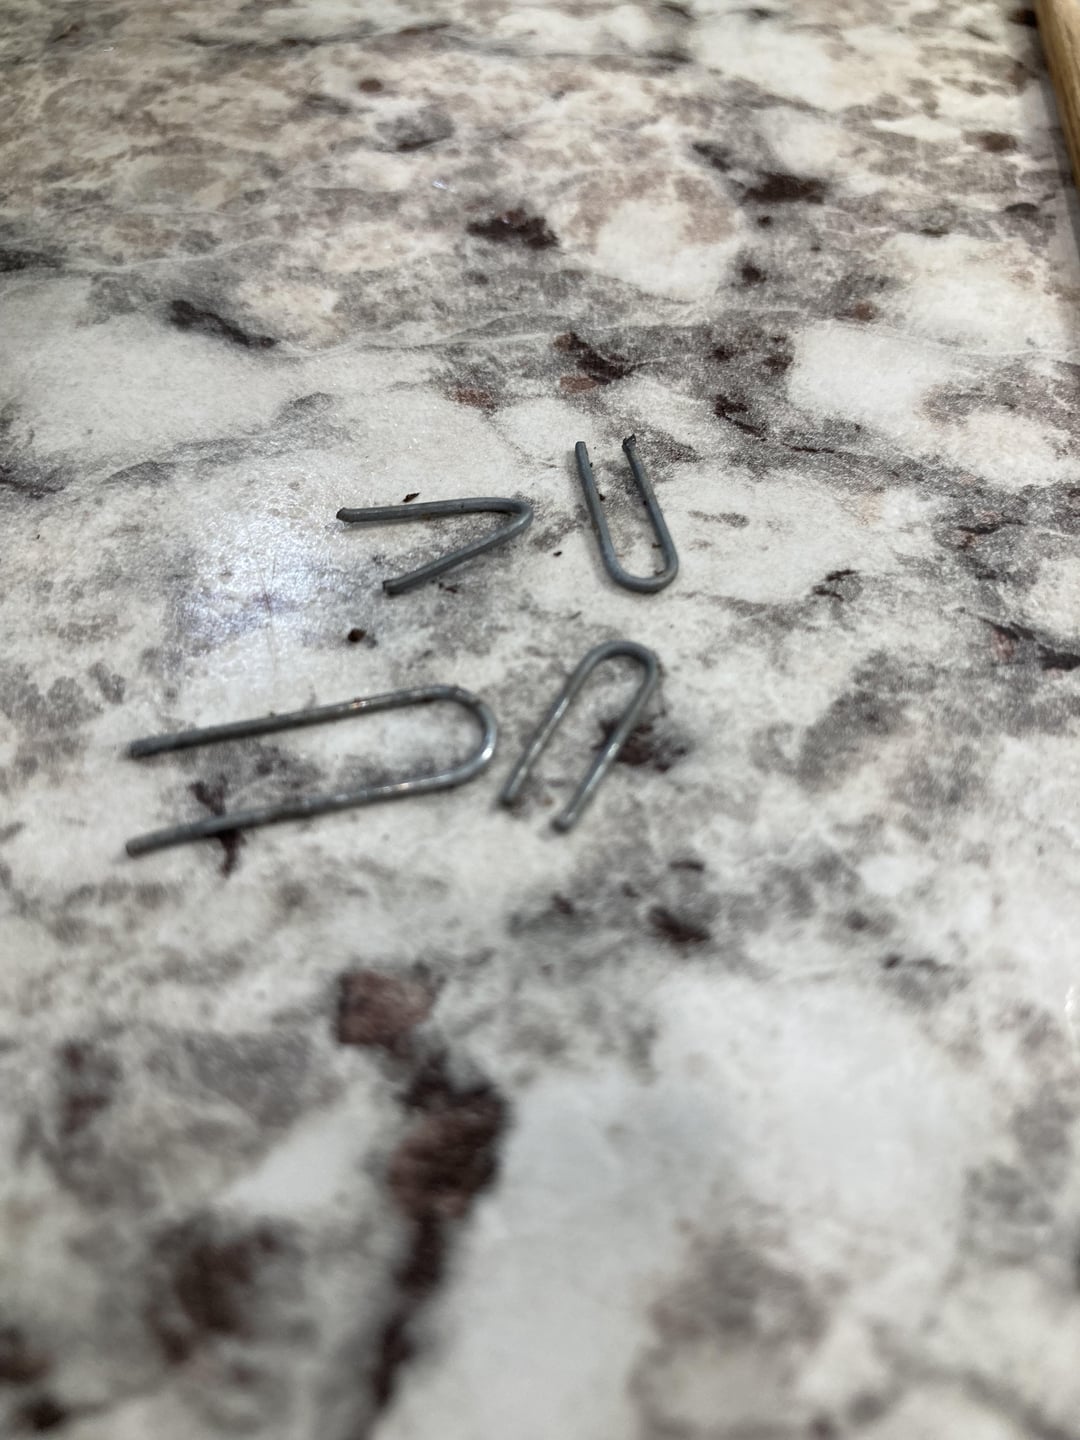
I start with a few vines I cut from my motherplant and a small pot. I take off the bottom 2-3 pearls, and I use a wooden skewer to poke a hole in my well-draining soil (I’ll share the DIY mix I use below), and I put the stem where I’ve just taken off the pearls into that hole. This is where that vine will root at the bottom. I lay (in a spiral) that vine across the soil and I use paperclips (picture 7) that I cut up to pin the vine down. Place the pins near nodes (where the pearls grow) because this is where roots will form. I do this with as many vines as I want for my pot.
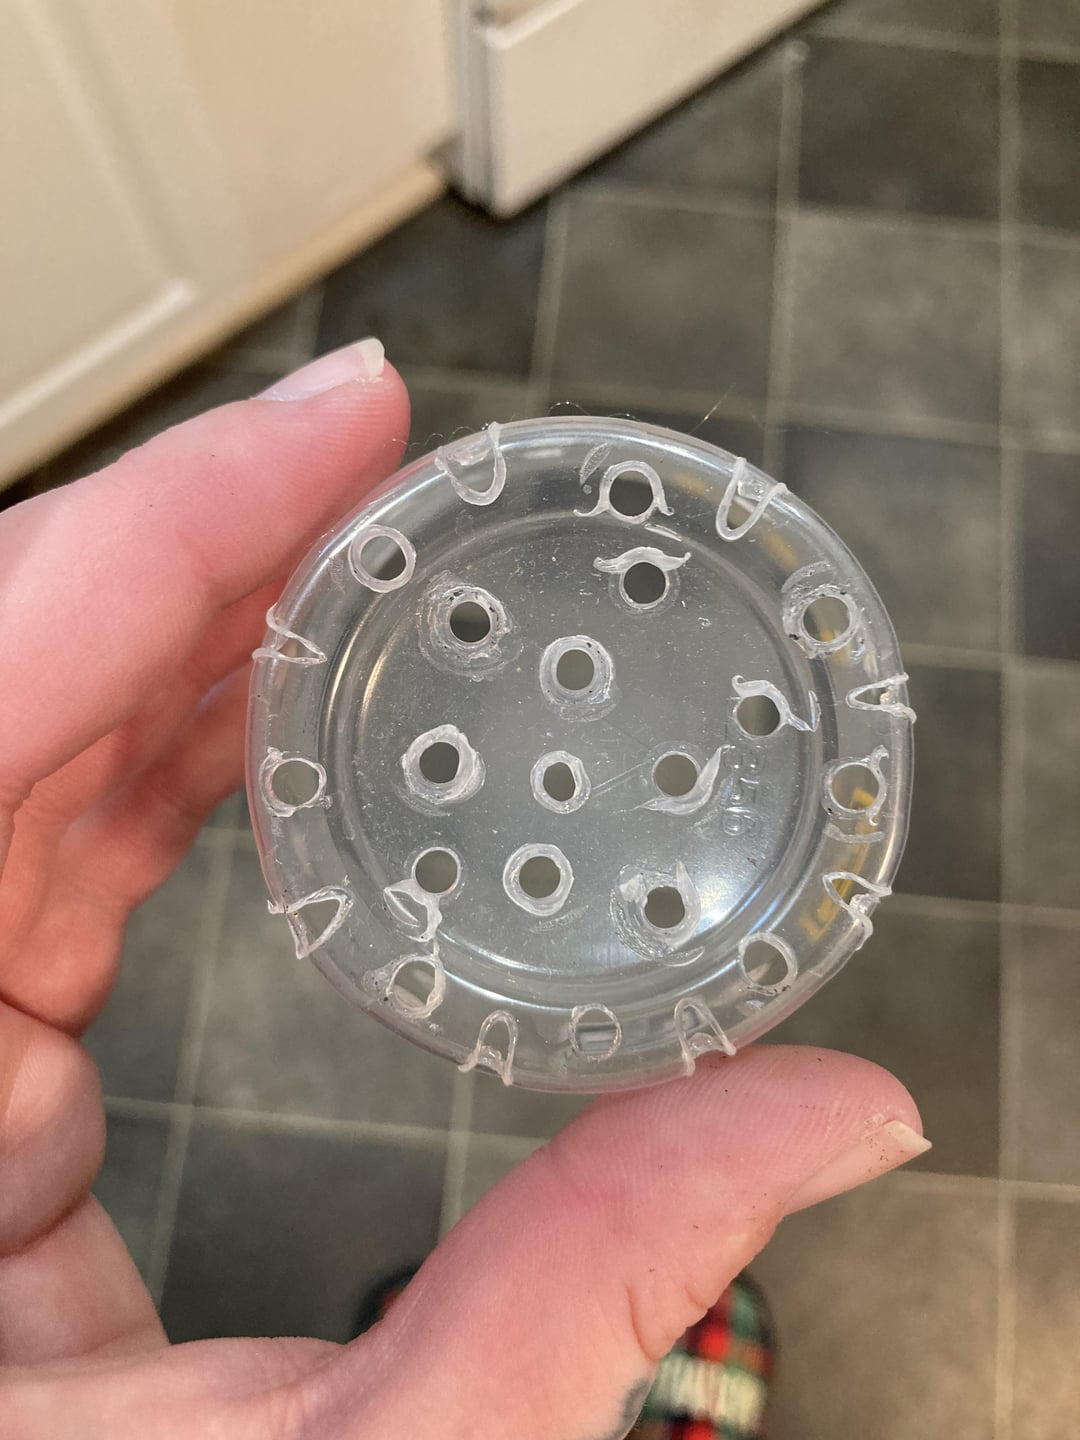
I recommend using a small pot, no bigger than 3”. If you’re someone who tends to overwater, I’d use terracotta. But you don’t want it to stay super dry that first week. You need moisture but too much will cause rot. I cut the bottom out of fast food cups and make drainage holes using a soldering tool (picture 8).
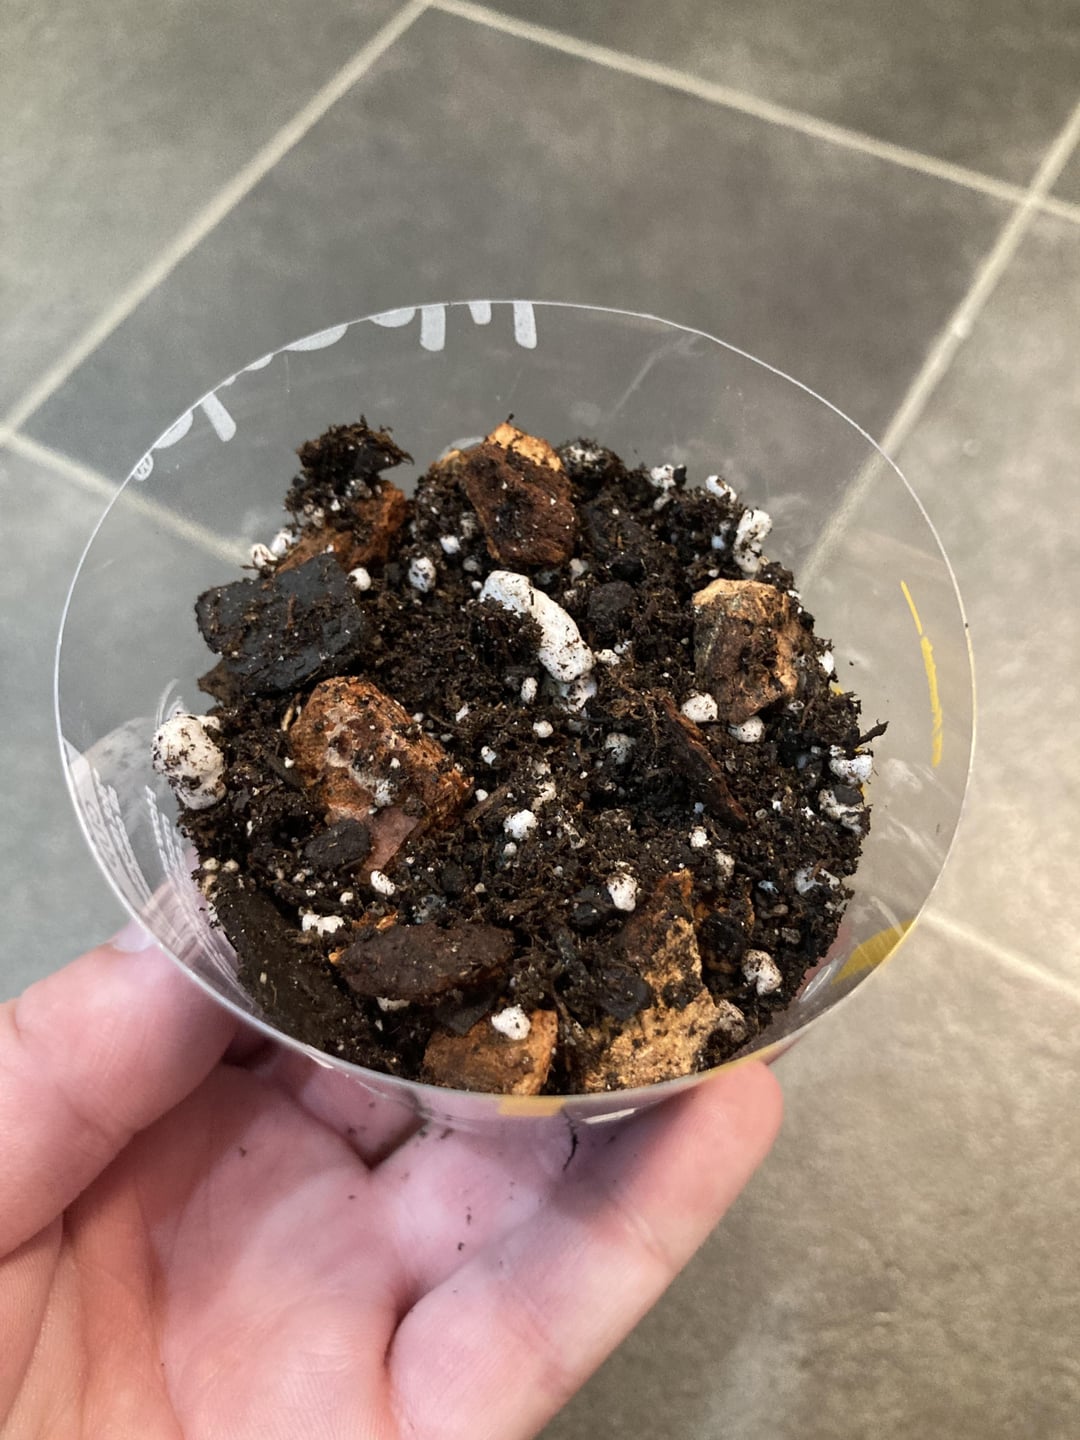
My potting mix (picture 9, though I cut up the bark more than that) is: Fox Farm Ocean Forest (though I used the orange bag of Miracle Grow for years with no issues) + extra chunky perlite + orchid bark (I use the Phalaenopsis mix by the brand BetterGro that comes with perlite and charcoal) + charcoal.
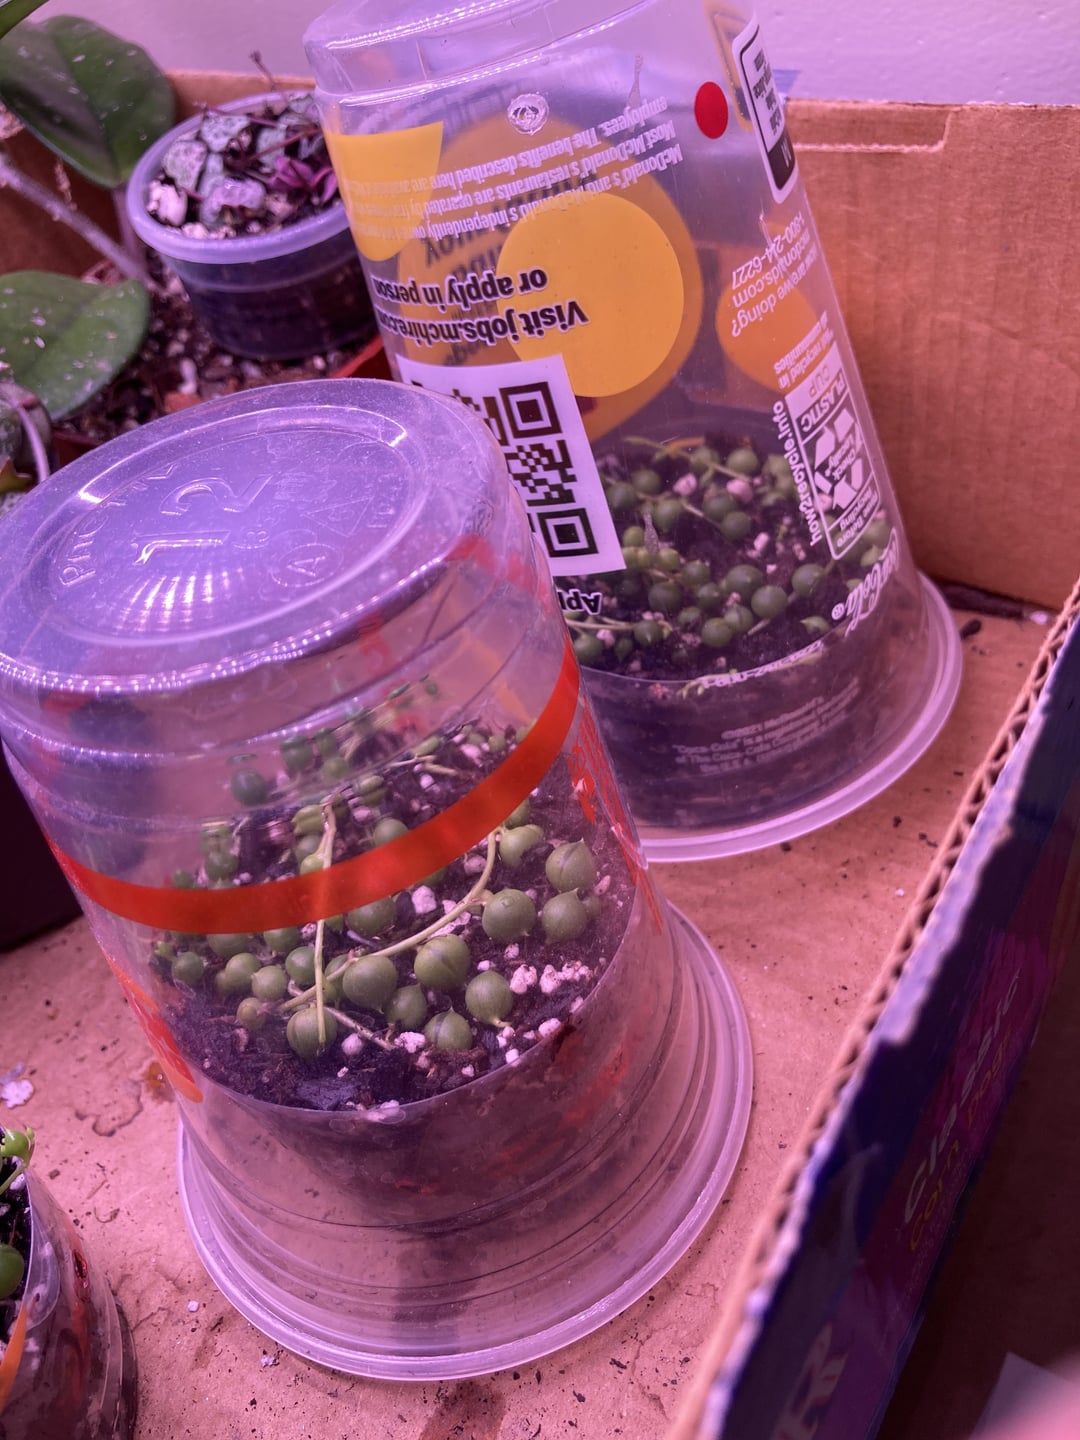
I add water to the top layer of the soil to encourage root growth (moisture encourages roots!). I use another fast food cup that I place over the SOPs as a humidity dome (picture 10). I’ll leave it on during the day, take it off at night. It’s pretty random actually. You just wanna make sure that there’s moisture but not too much. I start watering more deeply each week or so.
Because you’re keeping the bottom of the soil dry for a while, be mindful that it could turn *hydrophobic*. So that first time you water completely, make sure all the soil is getting wet. I’d sit the pot in a bowl for several hours, use a skewer to poke holes and pour water in those holes. Just make sure it’s all wet.
Water whenever the soil is dry once the roots are established.
In the beginning, the little slits – windows – on the pearls will open and close and you can let them tell you when it’s time to water, but as time goes on, it’s not as helpful. When the windows are “open,” they’re good. When they’re “closed,” the plant needs water. If you are an overwaterer (again, I really suggest terracotta AND using a wooden skewer to test soil for moisture) – don’t pay attention to this. It’s not 100%. But it worked for me when I was first learning. I don’t pay attention to them now. I know what a dry pot feels now (notice your pot before and after watering), and I also keep a log for every single plant I have. I write the date and if i watered, i write that down and I highlight the date in yellow; if i fertilize, i write what i used/how much, and highlight the date in green; if i repot or prune, i write down what new pot i used and highlight the date in pink; if i treat the plant or anything, i write down what i used or did and highlight the date in orange. I’ve done this for years (if interested, I can show you a page) so I can see, on average, how often my plants need watered. *Don’t water on a schedule.*
I place the SOP under my barrina t5 grow lights. I move them closer as time goes on. At first they’re probably 9” away so they can focus on root growth (also, the cup has to fit, lol) and as the roots grow, I move the pearls closer – about 3-4” away from my lights (when I no longer need the cup for humidity), for foliage growth. SOP need light FROM ABOVE. A lot of light.
I do this with String of Hearts as well, though I actually use my sons old medicine cups (that come with tylenol and stuff) and do the butterfly method where you just cut and prop a set of leaves with a little stem on either side, but everything else applies.
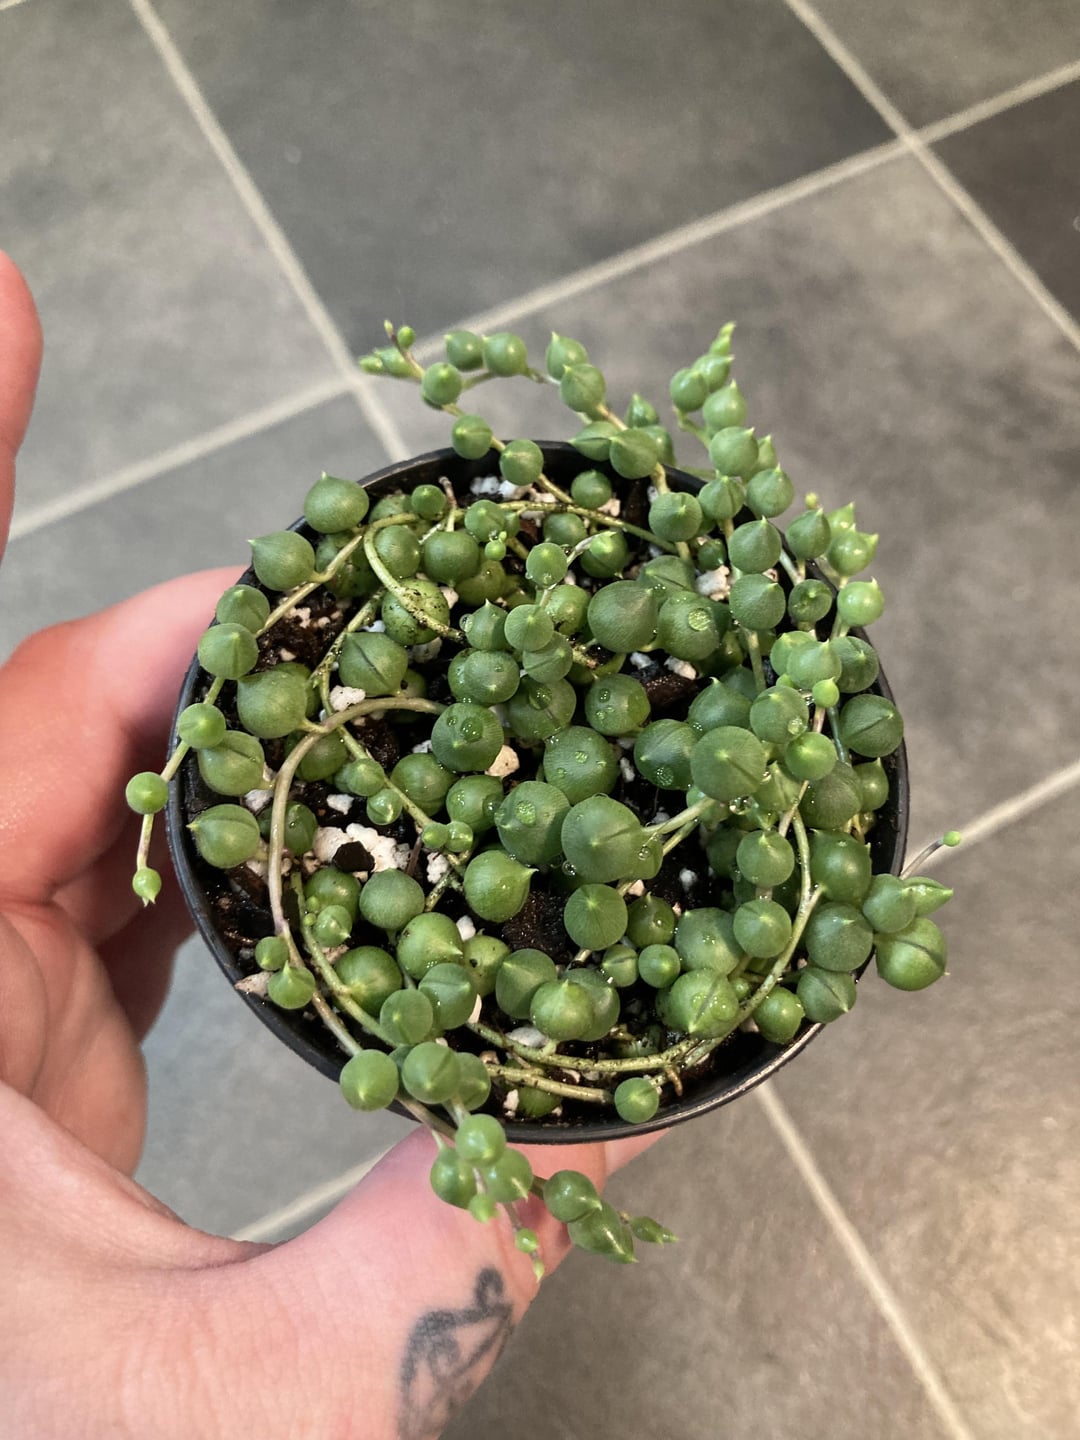
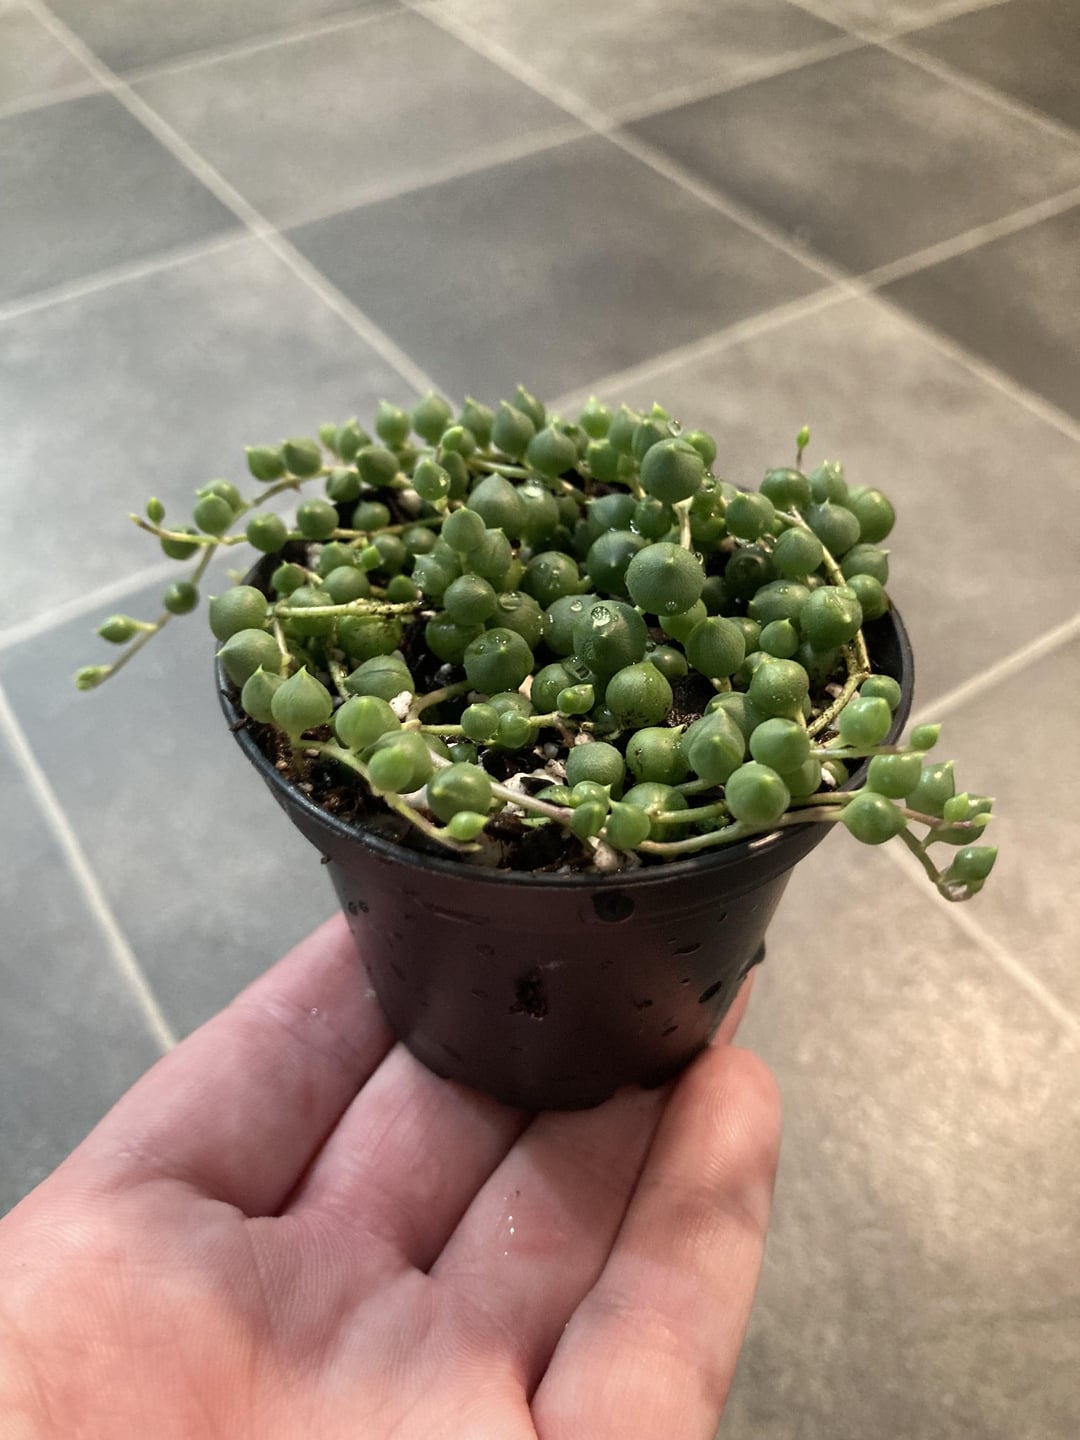
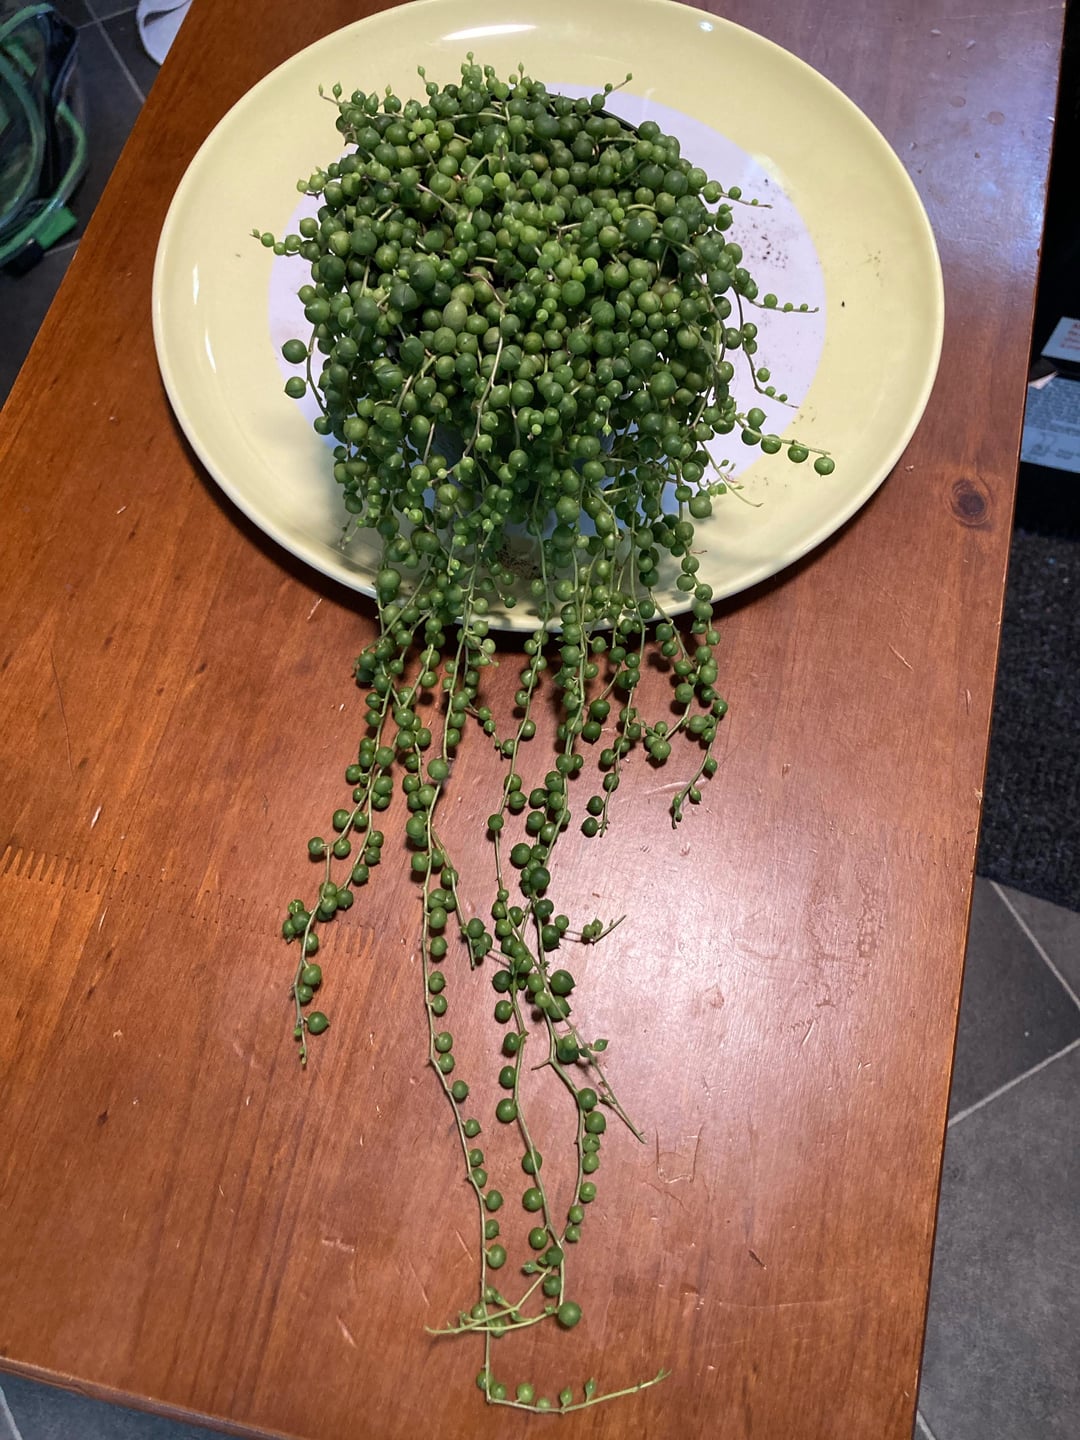
And that’s that. Last photo is momma pearl. I just pruned her to make another prop pot. 🤗 Started her the same way on Feb 23, 2023.


1 Comment
**HOW TO PROPAGATE STRING OF PEARLS**
I start with a few vines I cut from my motherplant and a small pot. I take off the bottom 2-3 pearls, and I use a wooden skewer to poke a hole in my well-draining soil (I’ll share the DIY mix I use below), and I put the stem where I’ve just taken off the pearls into that hole. This is where that vine will root at the bottom. I lay (in a spiral) that vine across the soil and I use paperclips (picture 7) that I cut up to pin the vine down. Place the pins near nodes (where the pearls grow) because this is where roots will form. I do this with as many vines as I want for my pot.
I recommend using a small pot, no bigger than 3”. If you’re someone who tends to overwater, I’d use terracotta. But you don’t want it to stay super dry that first week. You need moisture but too much will cause rot. I cut the bottom out of fast food cups and make drainage holes using a soldering tool (picture 8).
My potting mix (picture 9, though I cut up the bark more than that) is: Fox Farm Ocean Forest (though I used the orange bag of Miracle Grow for years with no issues) + extra chunky perlite + orchid bark (I use the Phalaenopsis mix by the brand BetterGro that comes with perlite and charcoal) + charcoal.
I add water to the top layer of the soil to encourage root growth (moisture encourages roots!). I use another fast food cup that I place over the SOPs as a humidity dome (picture 10). I’ll leave it on during the day, take it off at night. It’s pretty random actually. You just wanna make sure that there’s moisture but not too much. I start watering more deeply each week or so.
Because you’re keeping the bottom of the soil dry for a while, be mindful that it could turn *hydrophobic*. So that first time you water completely, make sure all the soil is getting wet. I’d sit the pot in a bowl for several hours, use a skewer to poke holes and pour water in those holes. Just make sure it’s all wet.
Water whenever the soil is dry once the roots are established.
In the beginning, the little slits – windows – on the pearls will open and close and you can let them tell you when it’s time to water, but as time goes on, it’s not as helpful. When the windows are “open,” they’re good. When they’re “closed,” the plant needs water. If you are an overwaterer (again, I really suggest terracotta AND using a wooden skewer to test soil for moisture) – don’t pay attention to this. It’s not 100%. But it worked for me when I was first learning. I don’t pay attention to them now. I know what a dry pot feels now (notice your pot before and after watering), and I also keep a log for every single plant I have. I write the date and if i watered, i write that down and I highlight the date in yellow; if i fertilize, i write what i used/how much, and highlight the date in green; if i repot or prune, i write down what new pot i used and highlight the date in pink; if i treat the plant or anything, i write down what i used or did and highlight the date in orange. I’ve done this for years (if interested, I can show you a page) so I can see, on average, how often my plants need watered. *Don’t water on a schedule.*
I place the SOP under my barrina t5 grow lights. I move them closer as time goes on. At first they’re probably 9” away so they can focus on root growth (also, the cup has to fit, lol) and as the roots grow, I move the pearls closer – about 3-4” away from my lights (when I no longer need the cup for humidity), for foliage growth. SOP need light FROM ABOVE. A lot of light.
I do this with String of Hearts as well, though I actually use my sons old medicine cups (that come with tylenol and stuff) and do the butterfly method where you just cut and prop a set of leaves with a little stem on either side, but everything else applies.
And that’s that. Last photo is momma pearl. I just pruned her to make another prop pot. 🤗 Started her the same way on Feb 23, 2023.