
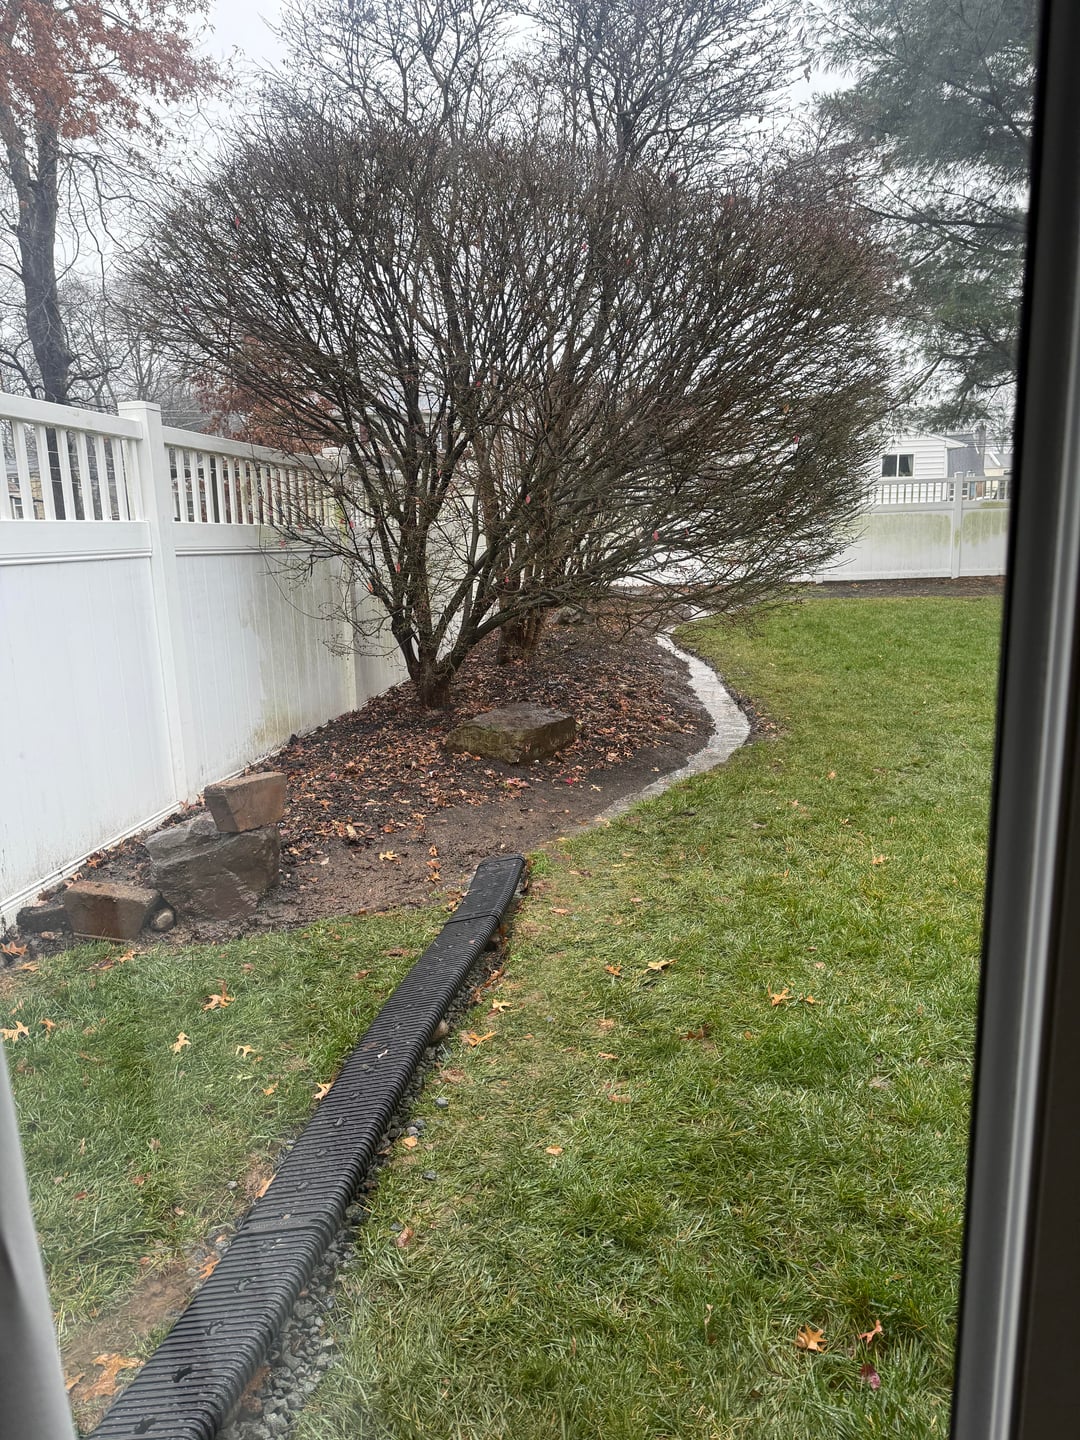
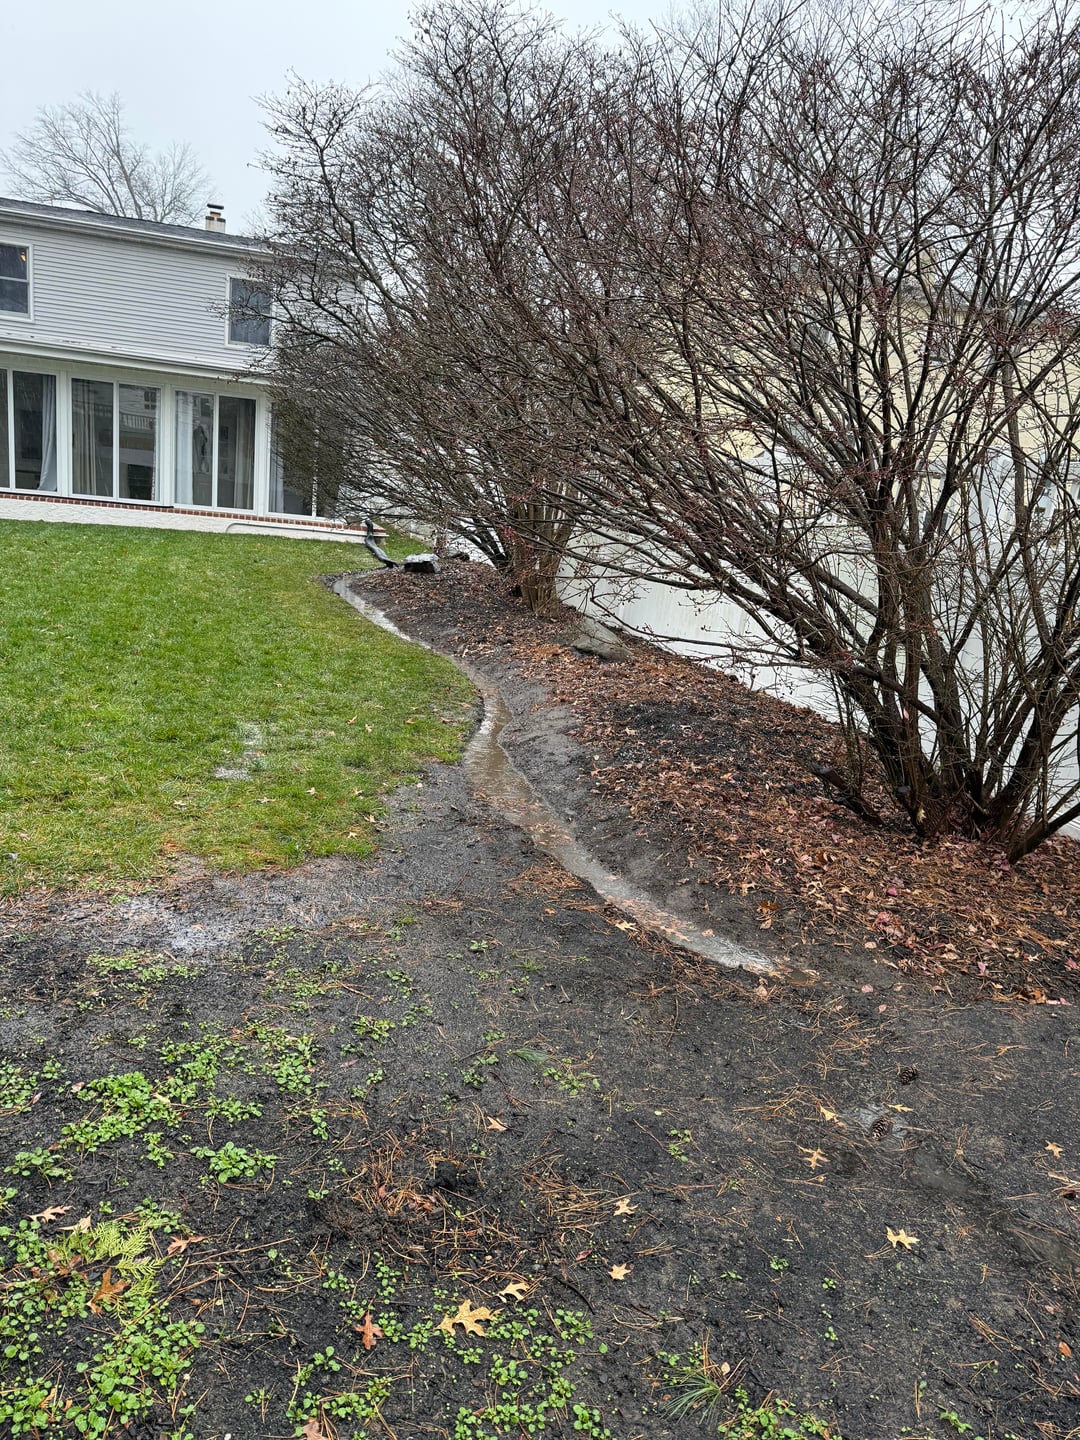
Der ursprüngliche 4-Zoll-Abflussschlauch war in der Mitte gebrochen und das Leck führte dazu, dass sich nur 4 bis 5 Fuß von meinem Fundament entfernt ein Loch bildete. Ich habe mich für diese flache Dachrinne entschieden, weil ich dachte, ich könnte sie halb vergraben und im Gartenbeet austreten lassen, aber das ist nicht möglich, weil das Gartenbeet so viele Wasserbecken hat. Damit kann ich leben, und jetzt wird das Wasser erfolgreich in das Gartenbeet geleitet und in Richtung der Rückseite des Hofes geleitet, aber mir ist der Platz ausgegangen und ich bin mir nicht sicher, wohin es von hier aus fließen soll.
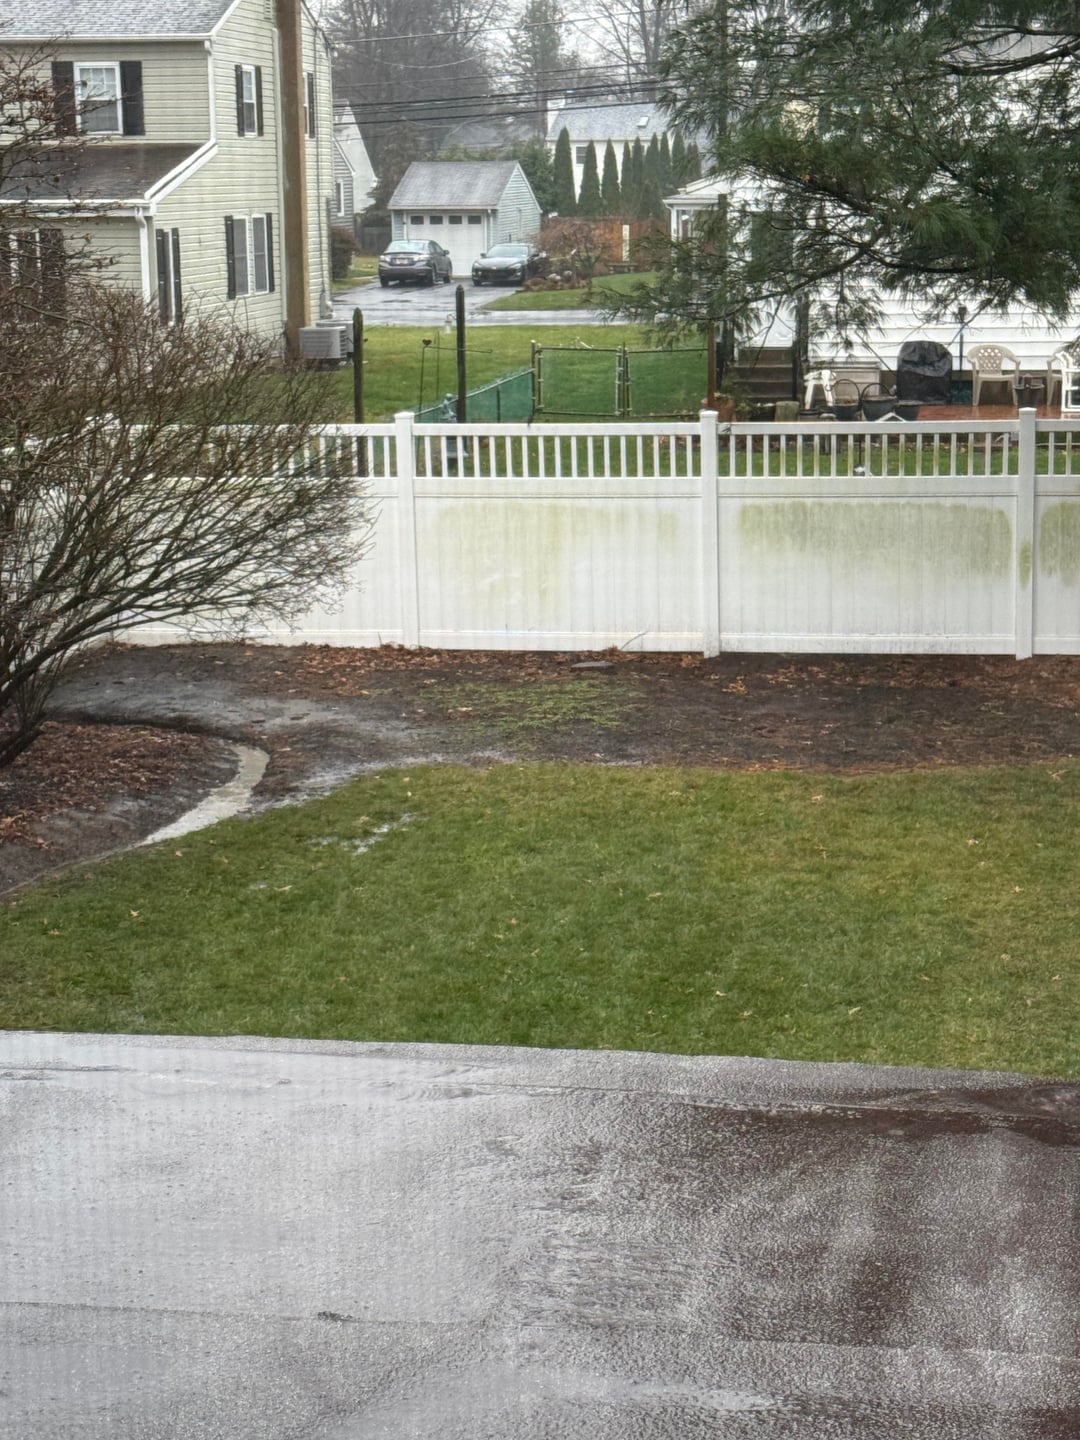
Ich bin mir nicht sicher, welche Möglichkeiten ich habe, aber früher bestand der gesamte hintere Bereich aus Mulchbeeten, aber ich habe sie eingeebnet und weggeräumt, in der Hoffnung, dass Gras wachsen und Hochbeete entlang des Zauns/in der Ecke angelegt werden könnten. Ich möchte vermeiden, die Rückseite für Mulchbeete/Wasserumleitung zu nutzen. Es gibt keine wirklich niedrigen Stellen im Hof, und die Straße liegt vom Hof aus oberhalb des Gefälles, daher kann sie nicht dorthin geleitet werden. Es sieht so aus, als ob die Entwässerung rund um das Haus schon früher in Angriff genommen wurde, aber aufgrund des Volumens, das aus dieser einzelnen Rinne kommt, überschwemmt sie die Mulchbeete. Ich bin damit einverstanden, dieses Mulchbeet zu überfluten, aber wie kann ich seine Kapazität verbessern?
Mein Garten ist von der Nachbarseite aus grundsätzlich durch den Zaun abgedichtet, aber auf seiner Seite des Zauns kommt es trotzdem zu Überschwemmungen, insbesondere seit der Vorbesitzer meine Seite des Zauns mit dem Gartenbeet bebaut hat. Für Ratschläge/Ideen sind wir sehr dankbar!
Von: squigglybuttnugget
5 Comments
Forgot to add that I removed all of the old landscaping fabric but kept the top soil/broken down mulch that was on top and added perlite to help with drainage but that is on top of the garden bed, not the trench that I raked out deeper so not sure that it helps
Right now you are just moving the problem from the foundation to the middle of the yard. Better than a hole by the house, but still not great. That low profile gutter extension is basically a band aid, you need a place for that water to soak in or go somewhere on purpose.
You have two realistic routes here. Easiest is a small rain garden / dry well at the back corner of that bed near the fence. Dig a decent hole 3 to 4 feet wide and 2 to 3 feet deep, fill the bottom with 12 to 18 inches of clean ¾” gravel, then top with a mix of native soil and compost and plant it with deep rooted, water tolerant plants. Run a proper 4″ solid drain pipe from the downspout (or from where that flat extension ends) to this spot with a slight continuous slope, then daylight it into the rain garden with a pop up or open outlet. That gives the water a place to spread and soak, not sit at the house or on the lawn. If your soil is super clay and it does not perk at all, step two is a french drain line along that bed: perforated pipe in gravel wrapped in fabric, slightly sloped to that same “end point” away from the house.
You can keep grass where you want it, just accept that one area needs to be the workhorse for stormwater. I would not try to force lawn right where the bulk of roof water lands, it will always be a swamp. Make that back corner the intentional wet spot and keep the grade sloping away from the foundation a solid 2 to 3 percent. If you want to play with where that rain garden or dry well goes and how big that mulched area really needs to be, toss a photo into the GardenDream web tool and sketch a swale line, a rain garden, and some raised beds. It is a cheap way to see how much space you will sacrifice to drainage before you start digging and hauling gravel.
Use bioswales to divert drainage. It still needs somewhere to go that won’t be a problem for your neighbors. There are native shrubs which are fine with a wet area. A simple google search will give you options for your location. I encourage you to do a soil drainage or perc test. If the water table is high or bedrock prevents good drainage, it’s important to know that. Choose shrubs, small trees that don’t mind. [https://growitbuildit.com/garden-soil-drainage-test-percolation/](https://growitbuildit.com/garden-soil-drainage-test-percolation/)
It looks like the drainage issue pushed everything toward the back corner, so the best approach is to turn that whole curve into a real planting bed that can absorb water instead of just collecting it. A deeper bed with layered plants + mulch will help slow runoff and keep the area stable. [https://app.neighborbrite.com/s/OfsgUjgqXtg](https://app.neighborbrite.com/s/OfsgUjgqXtg) You actually have a great natural “shape” already the curve works really well visually. I mocked up a few layout ideas so you can see how it could look once the drainage bed is converted into a proper garden space. These options keep the water-friendly plants along the low side while giving you a clean, structured front edge so it doesn’t feel like a swampy zone.
Turn that curving bed into a shallow rain garden and dry creek by scooping a couple 6-10 in basins, lining a winding rock swale, and burying a perforated 4 in pipe wrapped in fabric under it that outlets to a hidden dry well in the back corner. To cut peak flow, split the downspout with a Y into a rain barrel and use your planned raised beds as a small berm to slow and spread overflow. I usually use [Gardenly](https://gardenly.app/) to visualize my ideas, maybe you could give that a try?