
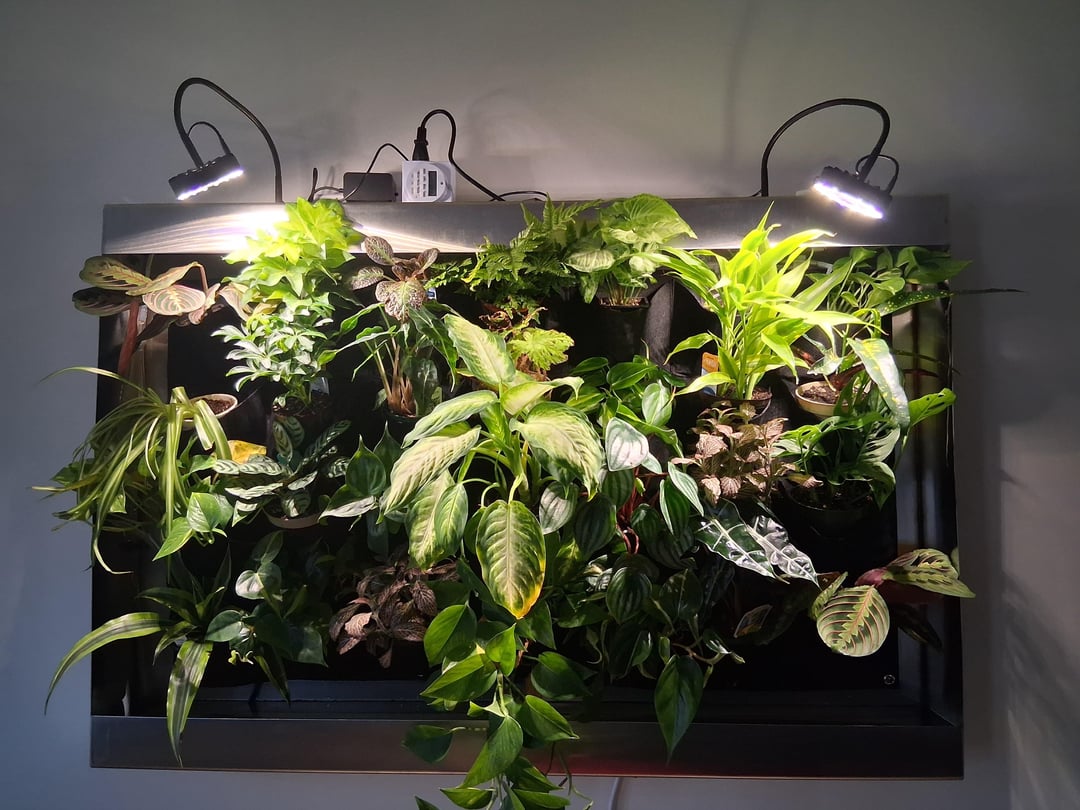
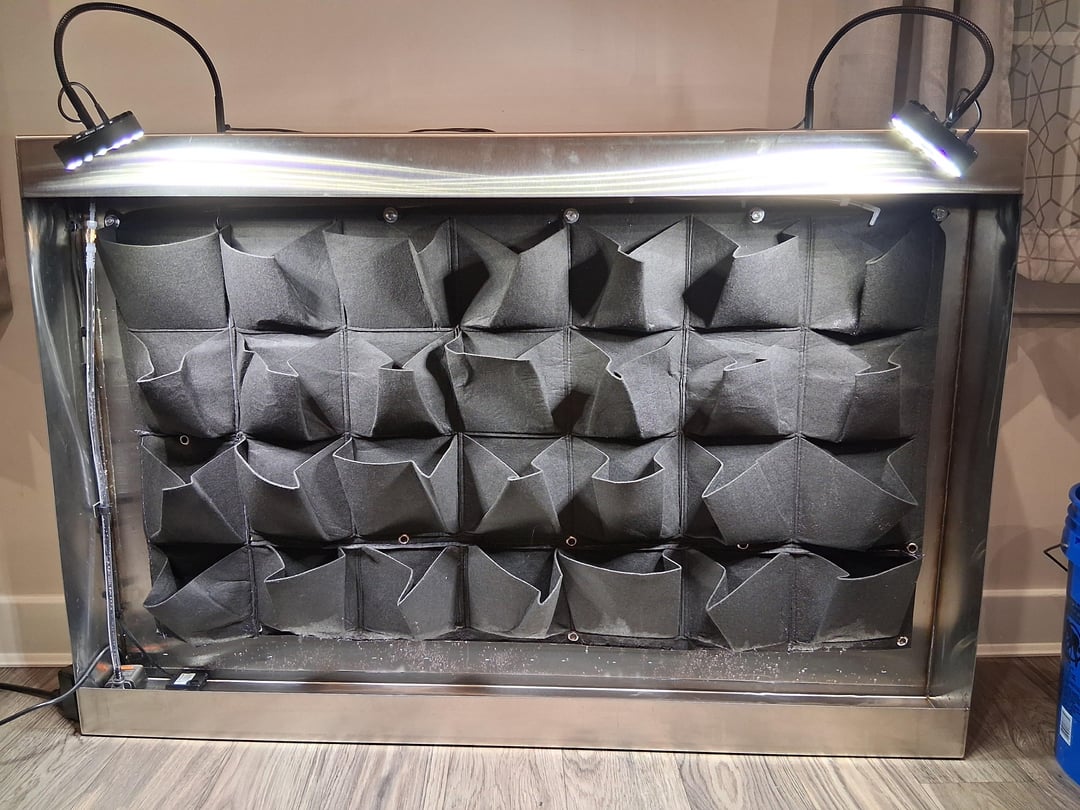
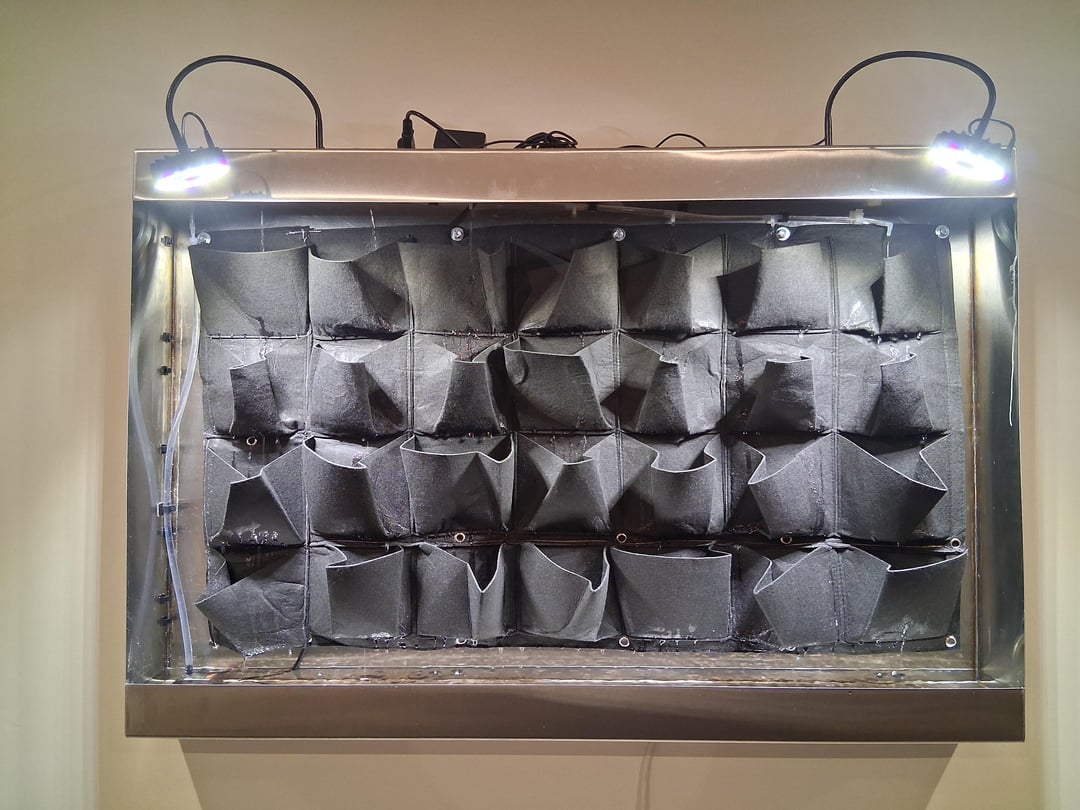
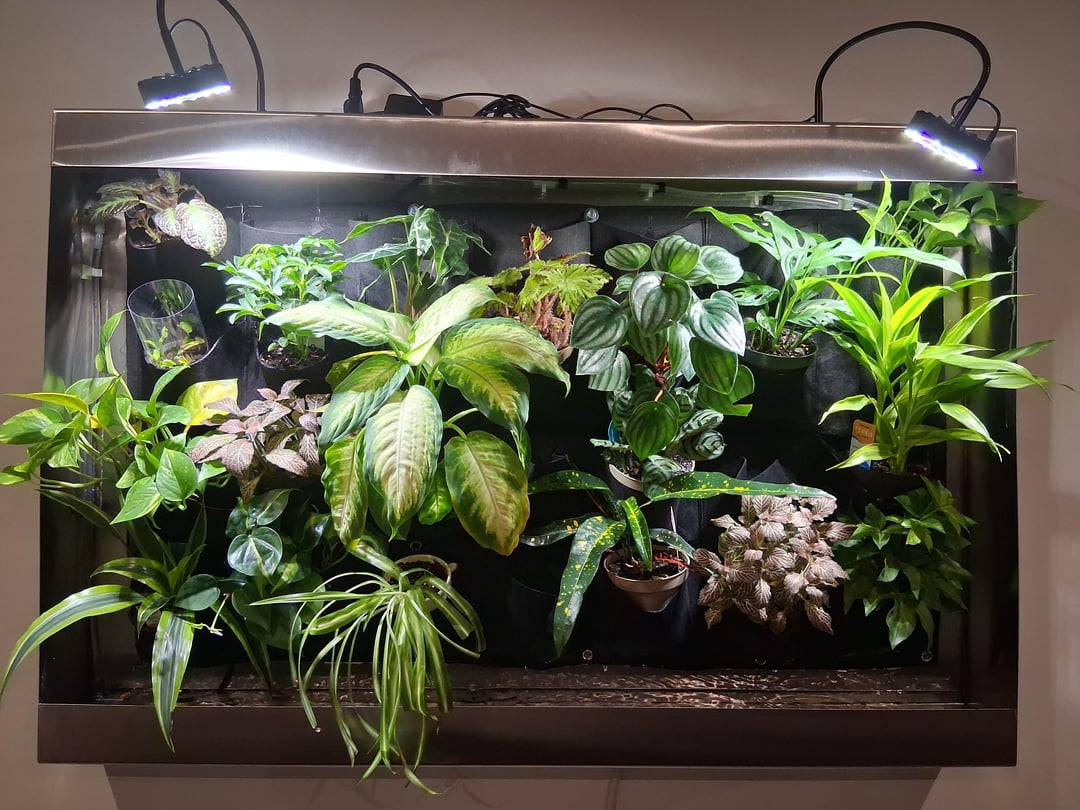
Anfang Herbst machten meine Familie und ich eine Reise nach Seattle und hatten das Glück, Tickets für den Amazon Spheres-Arbeitsbereich zu ergattern. Als ich dort war, sah ich ihre vertikalen Wandpflanzgefäßinstallationen und wusste sofort, dass ich meine eigenen haben wollte. Ich habe so viel wie möglich online gesucht, konnte aber nichts finden, was genau so war, wie ich es in den Sphären gesehen hatte, also beschloss ich, meine eigenen zu bauen. Ich habe die Pläne so gezeichnet, dass sie 48 Zoll breit und 32 Zoll hoch sind. An der Oberseite des Pflanzgefäßes bräuchte ich Gießrinnen für die Tropfbewässerung. Am Boden des Pflanzgefäßes bräuchte ich einen Wasserbehälter zum Recycling von Wasser. Um autark zu sein (abgesehen vom Auffüllen des Wasserreservoirs), bräuchte das Pflanzgefäß ein automatisches Bewässerungs- und Beleuchtungssystem. Um das Pflanzgefäß zu halten, habe ich Pflanzentaschen aus Filz verwendet, die porös genug sind, damit überschüssiges Wasser zu den Pflanzen darunter und schließlich zurück in den Behälter abfließen kann.
Der Rahmen
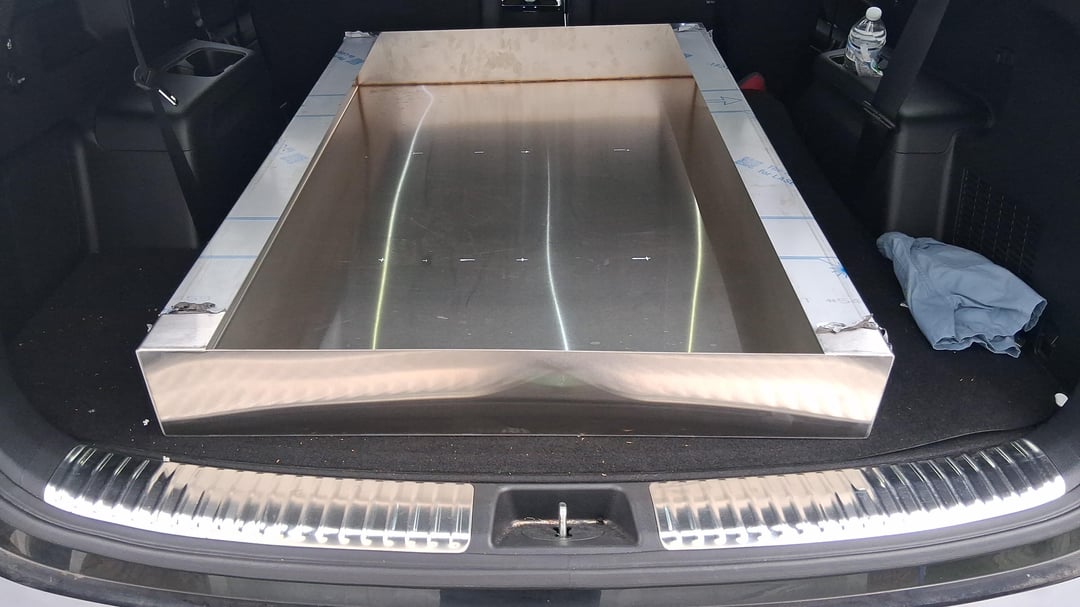
For the frame I used 16 gauge brushed stainless steel, a solid build with a finish that compliments most modern kitchen appliances. The sheet metal was bent by a local metal shop into a square “C” shape. but the ends would still need to be enclosed to hold water. For this I took the C shaped metal to a fabrication ship to weld the sides. just to be sure the frame was waterproof I ran a bead of silicon along the inner weld seams.

Sheet metal and bending: $350
Sheet Metal Welding: $175
Wassersystem
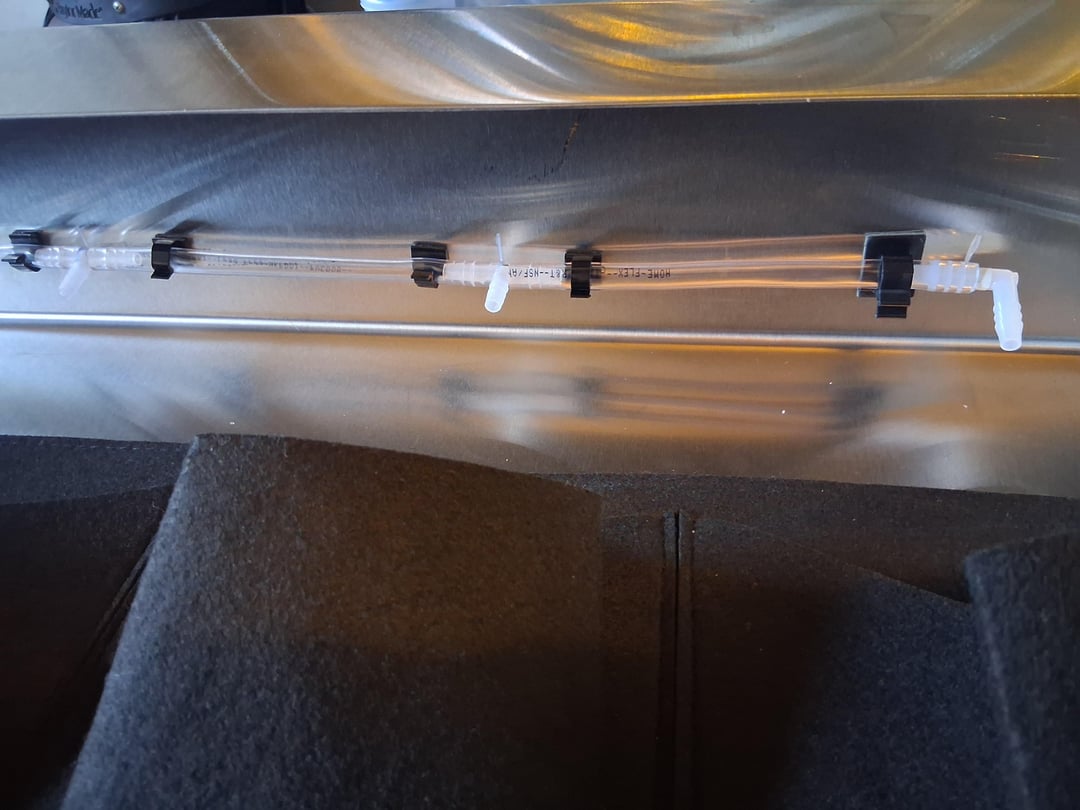
For the watering I used a submersible 132 gallon per hour water pump. For the tubing I used a 1/4 inch inner diameter clear polyurethane along the vertical side of the frame. along the top I used 0.170 inch inner diameter tubing with 7 Tee connectors positioned above each of the 7 plant pocket columns. Based on the dimensions of the reservoir which runs the bottom length of the frame, 2.5in x 5in x 48in the reservoir holds roughly 2.6 gallons of water. I will add a plexiglass extension to the front of the reservoir to hold more water. You don’t want the pump to run dry. The pump is connected to an outlet with a timer that is set to run Saturday and Wednesday for 5 minutes. Will adjust as needed.

Water Pump: $ 16
Tubing: $10
Tee Connectors: $6
Timer: $13
Beleuchtung
For the lights I went with a dual light system equipped with timers and “a.i.” (skeptical about the a.i. part). The “a.i” mode allows for automatic running up to 10 hours per day. The lights also come with inbuilt fans. Apparently wind is good for plant durability??

Lights: $50
Installation
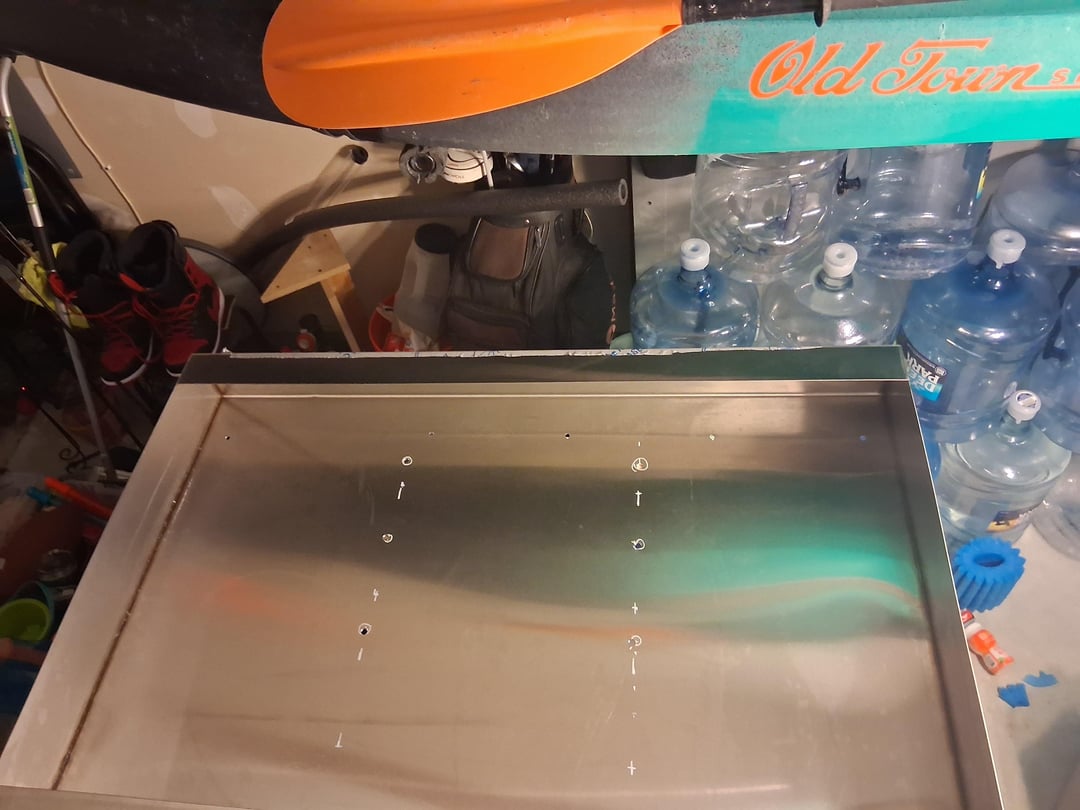
With the frame being 48 inches wide i decided to center the planter across 3 wall studs. For each stud I drilled 3- 4 inch long 3/8th inch lag screws spaced about 6-8 inches vertically. Each screw has a 1/2inch plastic spacer behind the planter frame just to allow airflow behind so that any moisture does not sit against the drywall. To put the holes into the frame for the screws to go through I used step drill bits graded for stainless steel.

Screws: $12
Rubber and metal washers: $8
Step Drill Bits: $18
Pflanzen & Boden
For the plants Simply stopped to a local greenhouse and grabbed a bunch of random house plants, Begonias, monstera, pothos, philodendron, peperomia, ferns, prayer and snake plants. Maybe a few more that I am blanking on. The plants will all sit in 28 felt pockets. The felt pockets were sold as 6 x 3. For the size of my frame i needed 7 x 4. So I sewed the extra pockets as needed. Right now all plants are still in their plastic containers until I see how they light they adjust to the lighting but plan to plant in soil within next few weeks. I am open to recommendations on potting soil.


Plants: $200-$250?
Ungefähre Kosten: 850–900 $
Von: toprahmin